How to Use the AuboStudio App in a Browser
When it is inconvenient to use the tablet, or when you need to use a larger computer screen for teaching, demonstration, or batch configuration, this method is recommended.
Prerequisites
Software version: ARCS system
arcs 0.32.1-rc.1or later.Environment requirements: Ensure that the computer and controller are powered on and on the same LAN.
Compatibility requirements: We recommend using mainstream browsers such as Chrome and Edge for access.
Usage
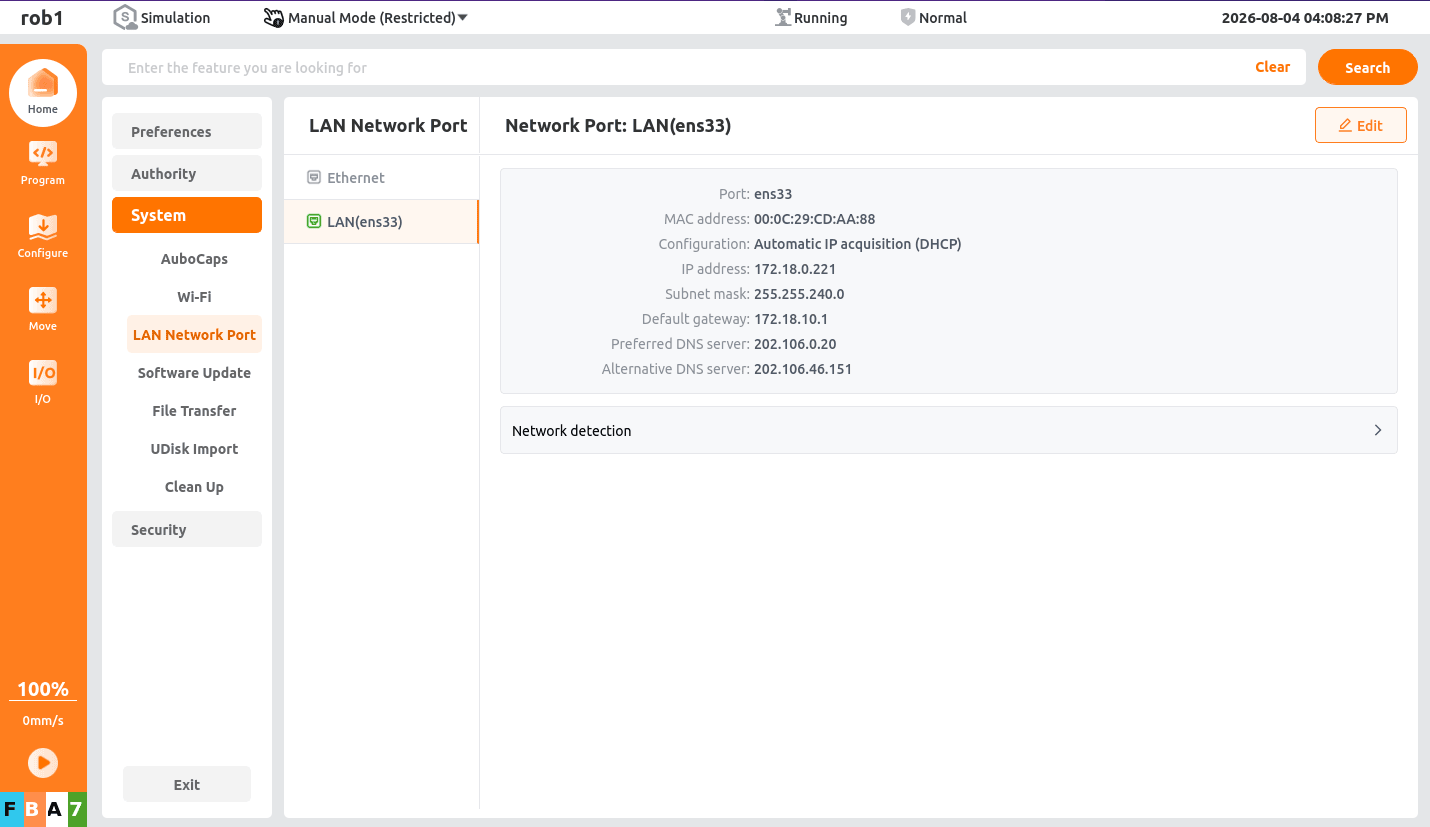
On the Aubo teach pendant home page, click “Settings > System > LAN Port > LAN (ens33)” in sequence to obtain the controller IP address.
Open a browser and enter
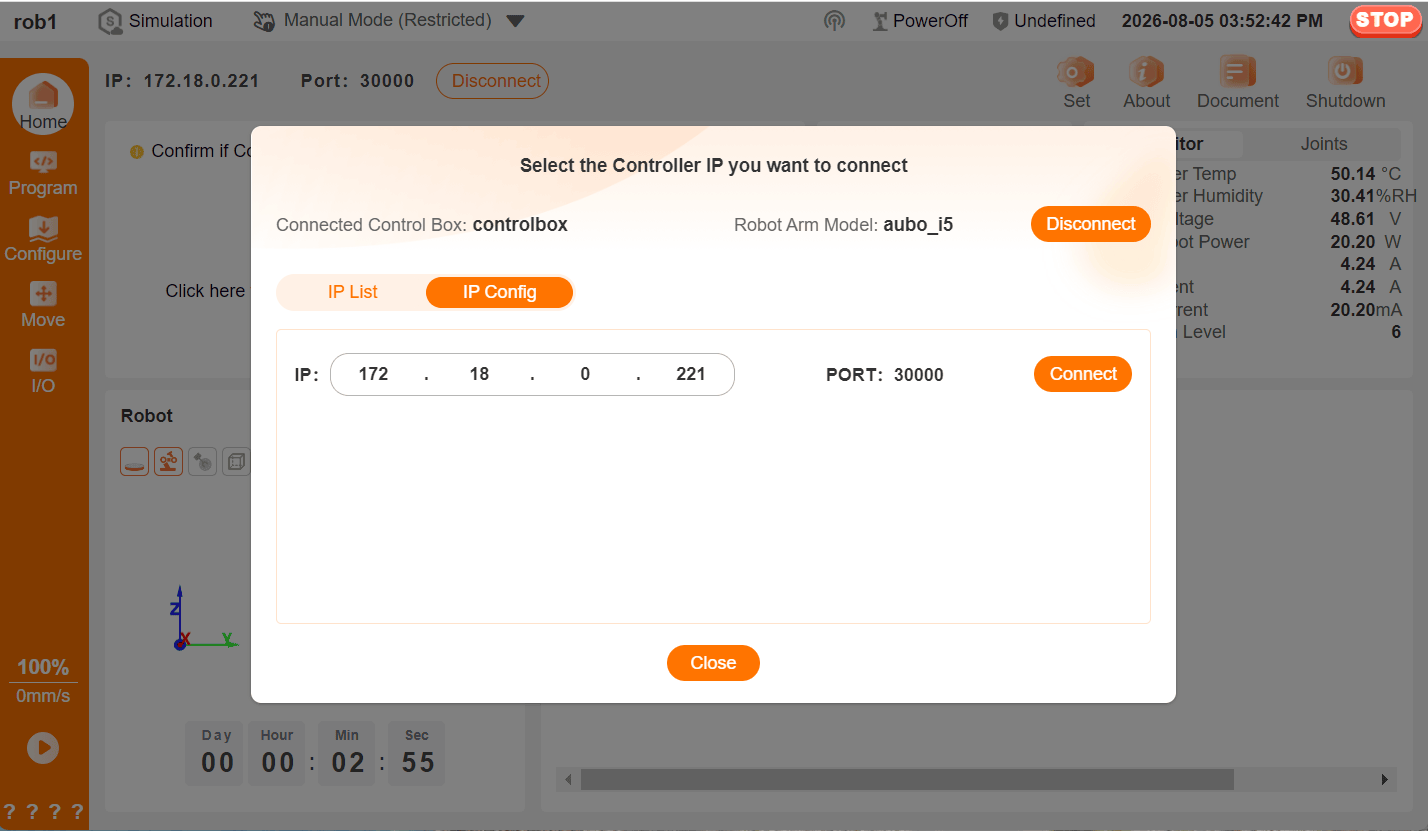
controller IP:9090in the address bar, for example192.168.×××.×××:9090, to enter AuboStudio in the browser.In the pop-up window, enter the controller IP address on the [IP Configuration] page and click [Connect] to enter the AuboStudio control interface.
Note:
After the connection is successful, the pop-up window will disappear automatically. You can then use mouse clicks in the browser to access the same functions as on the tablet.
Since AuboStudio runs in a private LAN environment, it uses the HTTP transmission protocol. The browser's “Not secure” warning at this point is a generic warning for non-encrypted protocols. It does not affect normal system use or data security and can be ignored.
Troubleshooting
If AuboStudio cannot be opened in the browser using the method above, troubleshoot according to the following steps.
Troubleshoot Network Communication
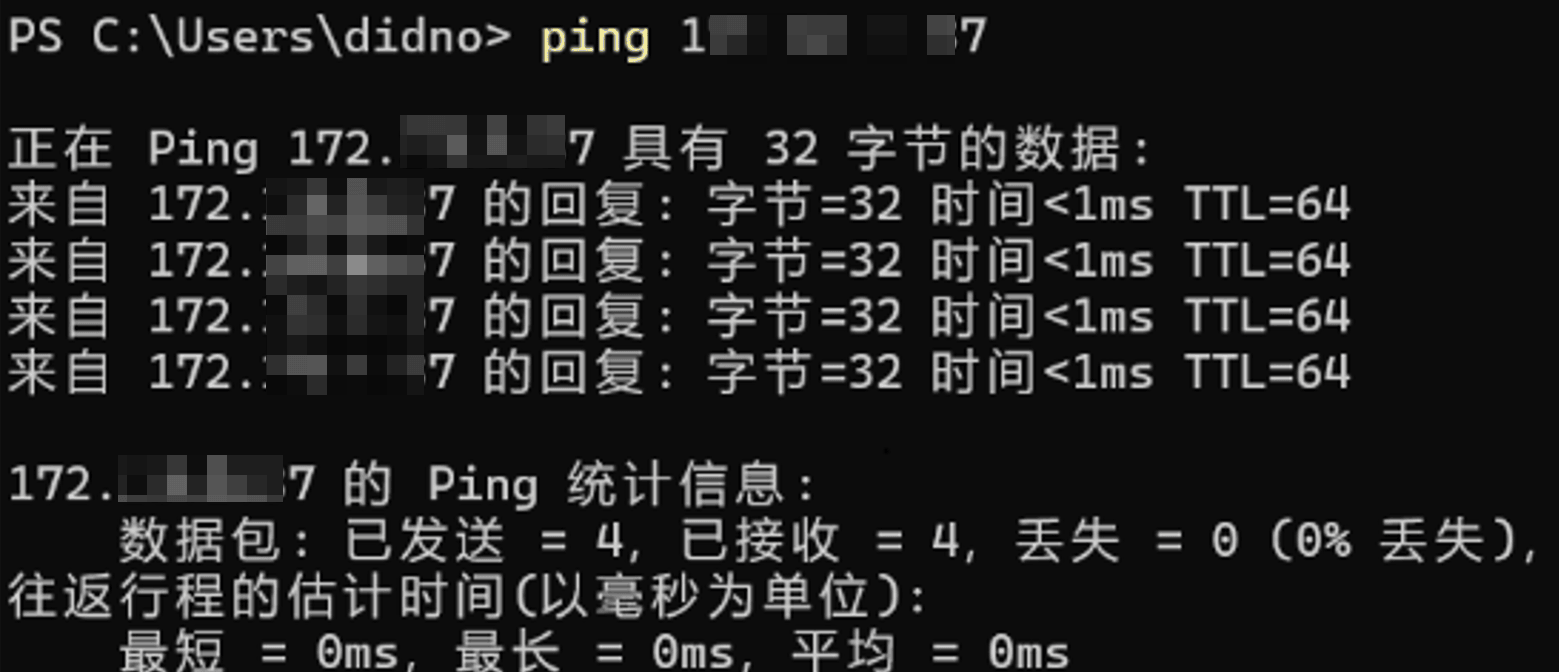
Use the ping command to check whether network communication between the browser device and the controller is normal.
Normal communication example:
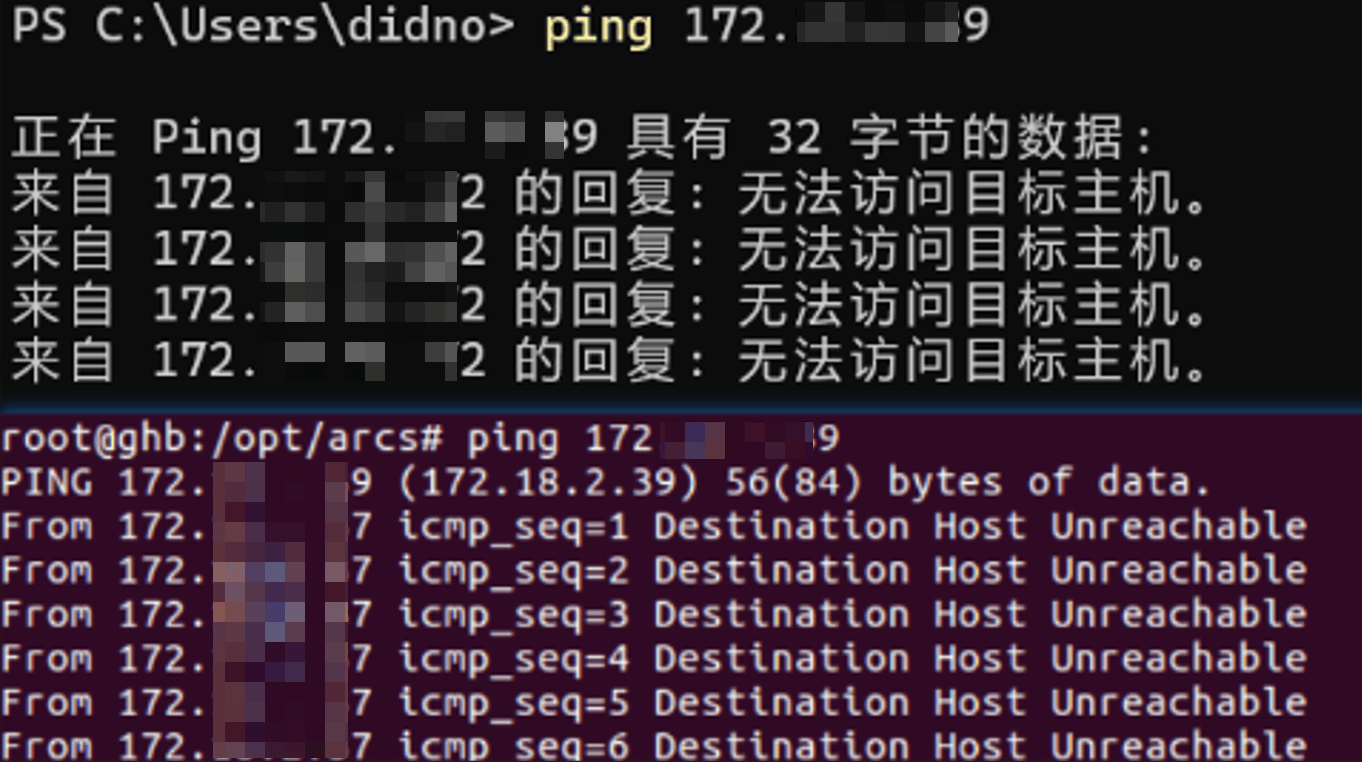
Abnormal communication example:
If 无法访问目标主机 or Host Unreachable is returned, communication is abnormal.
Solution:
Use the following methods to ensure that the browser device and the controller are on the same LAN:
Check the physical connection: We recommend using an Ethernet cable to connect the computer directly to the controller's LAN port, or ensuring that both are connected to the same switch/router.
Configure IP addresses on the same network segment: Check the computer's IP address and ensure that it is on the same network segment as the controller IP address (for example, if the controller is
192.168.1.129, the computer must be set to192.168.1.X). If they are not consistent, manually change the computer's IPv4 address to a static IP address on the same network segment.Disable network proxies: Ensure that VPN or global proxy software is not enabled on the browser device, to prevent LAN traffic from being incorrectly forwarded.
Check Running Status
Enter the controller terminal and use the following commands to check the running status of key services.
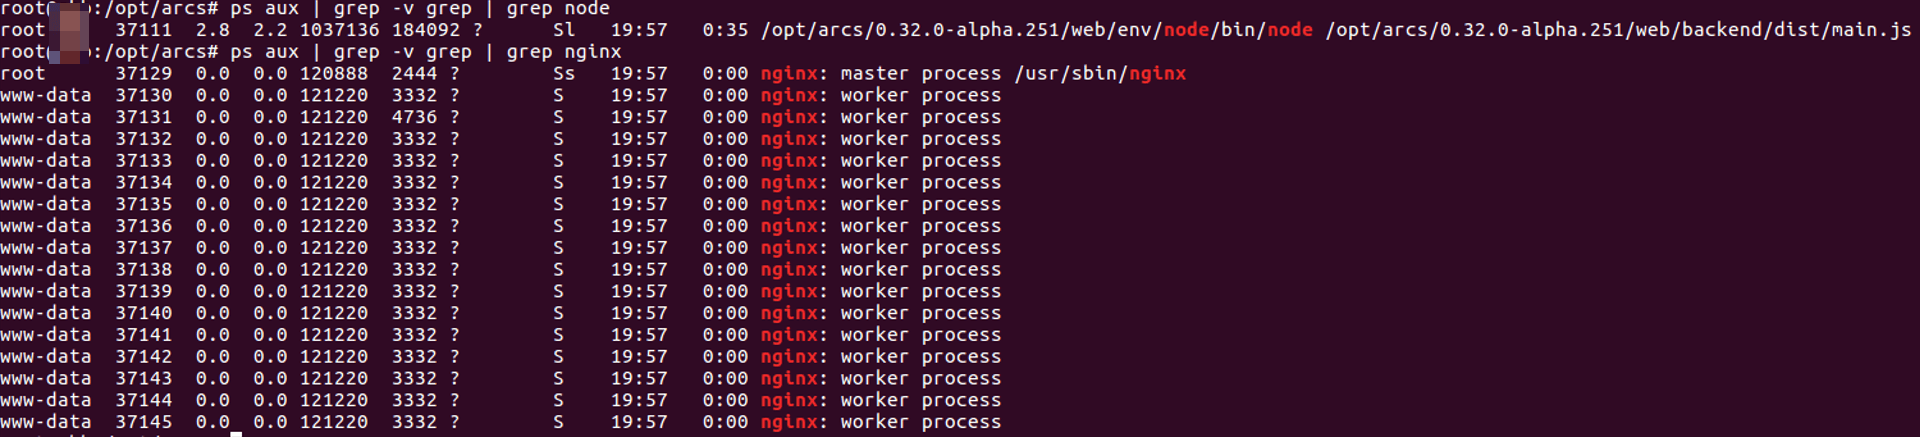
ps aux | grep -v grep | grep nodeps aux: Lists detailed information about all processes in the system.grep node: Filters processes containing thenodekeyword in the process list (that is, Node.js processes).grep -v grep: Excludes thegrep nodesearch process itself (to avoid interfering with the detection result).
ps aux | grep -v grep | grep nginxps aux: Lists detailed information about all processes in the system.grep nginx: Filters processes containing thenginxkeyword in the process list (that is, nginx service-related processes).grep -v grep: Excludes thegrep nginxsearch process itself (to avoid interfering with the detection result).
Process exists example:
Process does not exist example:

Solution:
If the related processes do not exist, the webscope or nginx service is not running. Troubleshoot and restore them as follows:
Step 1: Determine whether the services are disabled
Check the following configuration files in sequence to determine whether the services are disabled:
Check the OEM configuration: View the
oem/before_setup.shfile in the software installation directory. Ifexport INSTALL_WEBSCOPE=falseorexport INSTALL_NGINX=falseexists, the service is disabled.Note
The OEM configuration has the highest priority.
Check the global configuration: If the OEM directory does not impose restrictions, view the
/etc/default/arcsfile. IfINSTALL_WEBSCOPE=falseorINSTALL_NGINX=falseexists, the service is disabled.
Step 2: Restore according to the troubleshooting result
Scenario 1: The services are disabled (not installed)
If the preceding troubleshooting confirms that the services are disabled by
falsevariables, restore them as follows:Note:
Since OEM definitions have the highest priority, before enabling the services, first ensure that the
oem/before_setup.shfile does not forcibly set these two variables tofalse(if it does, change them totrueor delete the lines directly).After confirming that the OEM configuration is correct, re-enable the services by one of the following two methods:
Method 1: Specify variables during installation
Enter the installation directory of the specified version (replace
${version}with the version number currently in use, such as0.29.1-rc.34), specify the variables, and reinstall:cd /opt/arcs/${version} INSTALL_WEBSCOPE=true INSTALL_NGINX=true ./setup.sh installMethod 2: Modify the
/etc/default/arcsfile and reinstallEdit the configuration file
vim /etc/default/arcsand change the following variables totrue:INSTALL_WEBSCOPE=true INSTALL_NGINX=trueEnter the installation directory of the specified version and reinstall:
cd /opt/arcs/${version}
./setup.sh install
Scenario 2: The services are installed but stopped unexpectedly If troubleshooting shows that the two services are not disabled in the configuration files (the variables are
true), the services are installed but stopped unexpectedly. In this case, no reinstallation is required. You can start them directly with thesvcommand:# Load environment variables source /etc/default/arcs # Start webscope ${PREFIX}/${VERSION}/share/software/runit/command/sv start ${PREFIX}/${VERSION}/share/service/runit/webscope/ # Start nginx ${PREFIX}/${VERSION}/share/software/runit/command/sv start ${PREFIX}/${VERSION}/share/service/runit/nginx/